


ינהאַלט
When working in an Excel spreadsheet, there are often moments when the information located in a cell gets out of bounds. For correct display, you can remove unnecessary information from the cell, but this is an inefficient way, as it promises a loss of information completeness. A great solution is to move the cell borders to fit all the data. In the article we will analyze several options for correctly setting the line height automatically.
What is row height in Microsoft Excel
The line height is one of the tabular information parameters. By default, the height is able to fit text written in one line. When line wrapping is enabled, the height of the column increases on its own so that all the information in the cell is correctly displayed in it.
What the table looks like before using autoselection, for what reasons it may be needed
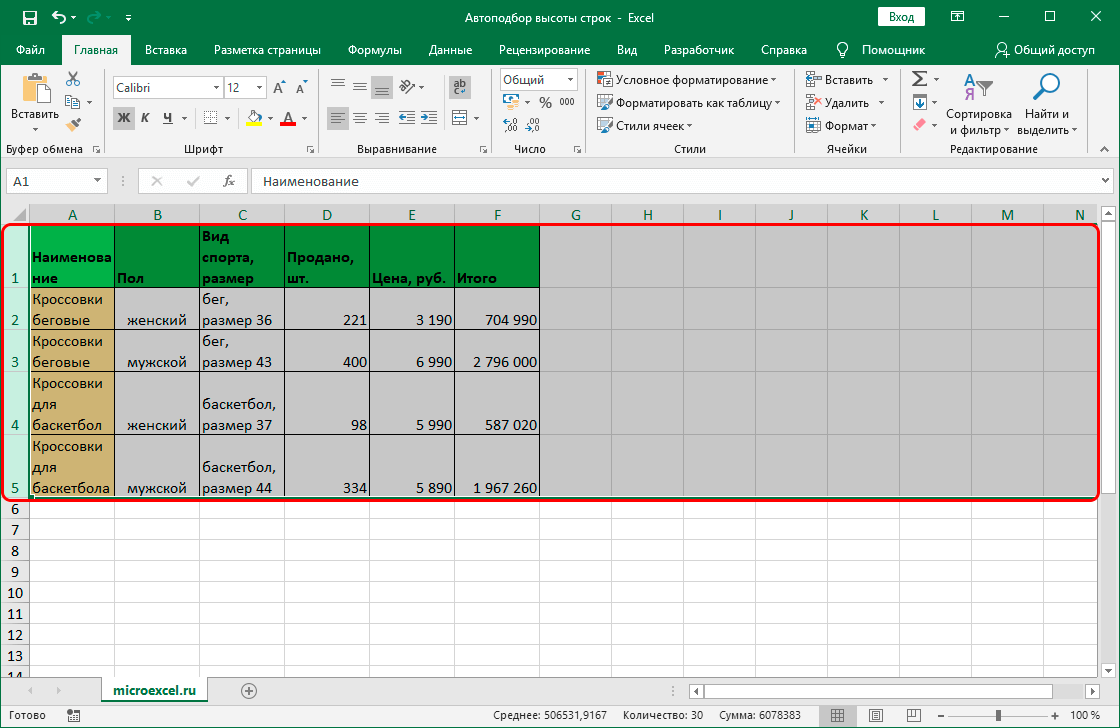
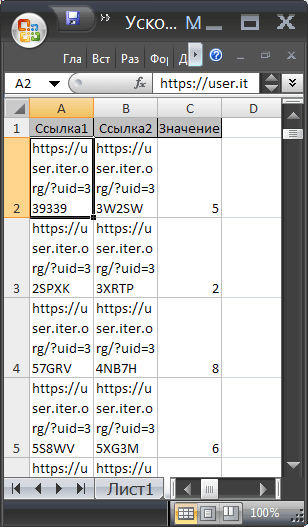
For an illustrative example, let’s consider a situation where there are cells with voluminous textual information in the plate. The original table looks like this:
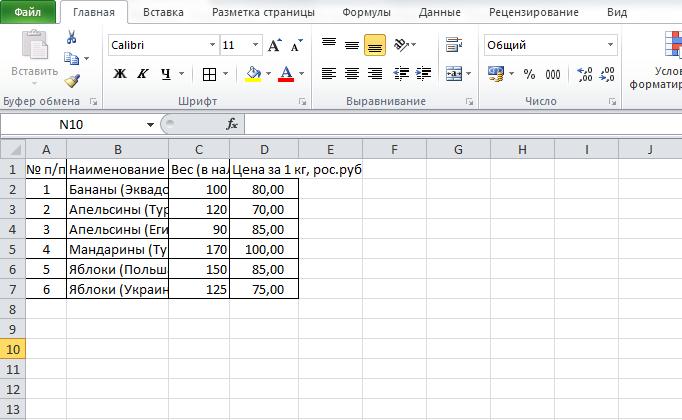
We can clearly see that there are many cells in which the entered text does not fit. In this situation, the user cannot increase the width of the columns, since when printing, the entire plate will not fit on a paper sheet. To correctly display all the data in it, you must apply one of the methods for automatically selecting the line height. You can find out about all methods by reading the information below.
אַוטאָפיט שורה הייך
Automatic adjustment of the line height is a special tool that adjusts the height of each cell of the line to the filling of the most filled cell. It is worth noting that the width in this case does not change. The function automatically adjusts the borders, but most of the manipulations are done independently. There are several ways to implement automatic selection. Let’s talk about each in more detail.
Method 1: AutoFit Height via Cell Format
This is the first method, which is required to be used when implementing the remaining methods. Automatic matching only applies to cells that have word wrap enabled. דיטיילד ינסטראַקשאַנז זענען ווי גייט:
- Right click on a cell or range. In the variant under consideration, we select the entire table. A small context menu is displayed. We find “Format cells …” and click on it LMB.
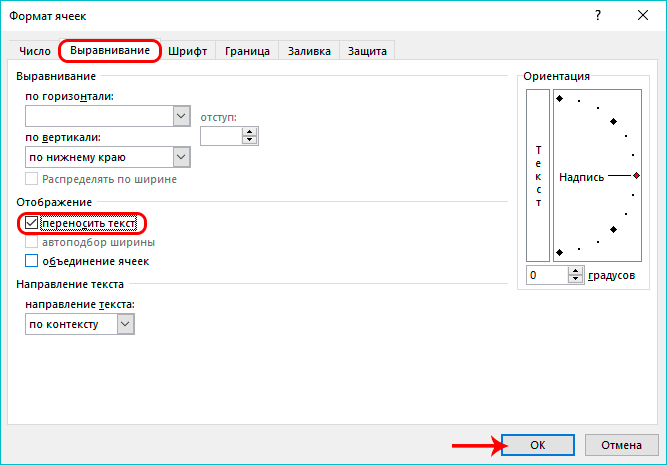
- The display will show a box called Format Cells. We move to the “Alignment” subsection. We find the “Display” command block and set the checkbox next to the “Wrap text” parameter. After carrying out all the manipulations, click “OK”.
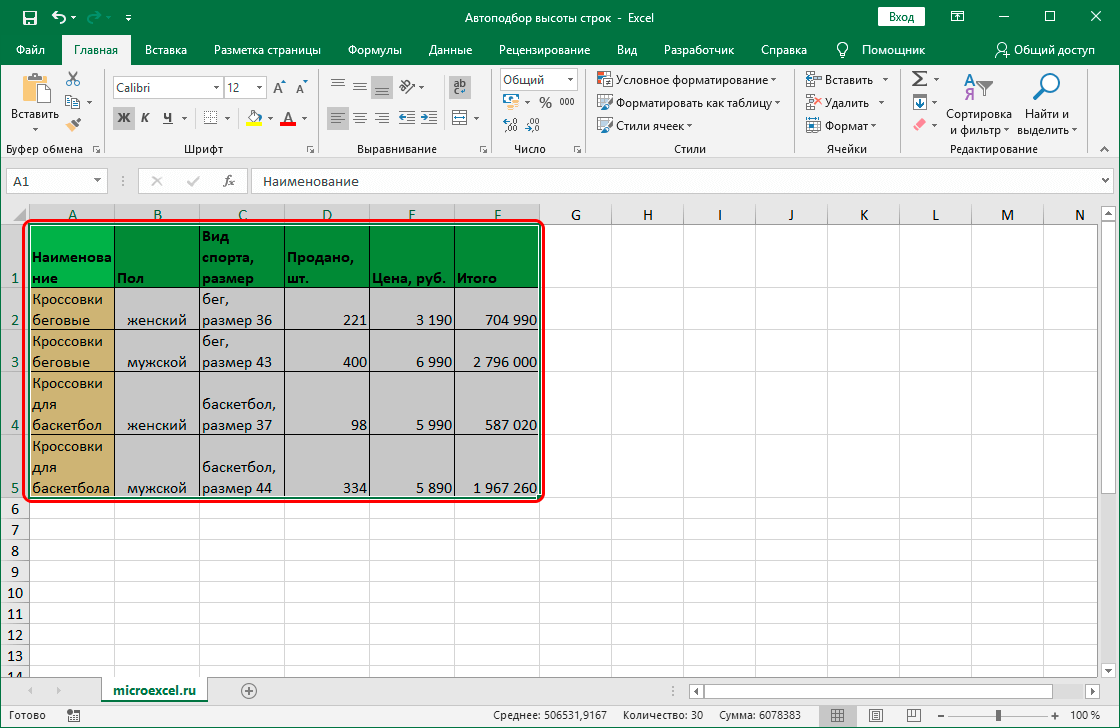
- Ready! After carrying out all the procedures, the content of the selected cells was completely displayed in them. The height of the lines has changed in such a way that all the information in the cells is displayed in full.

ופמערקזאַמקייַט! It happens that in the ranges in the on state there is a word wrap, but the data still does not fit in the cells, or, on the contrary, there is a lot of empty space. To understand how to fix this problem, consider the following methods.
Method 2. Adjusting the height through the coordinate bar
דיטיילד ינסטראַקשאַנז זענען ווי גייט:
- We find the coordinate panel of the vertical type and click on the line number, the automatic height of which we plan to adjust. After selecting a row, it should be highlighted in its entirety.
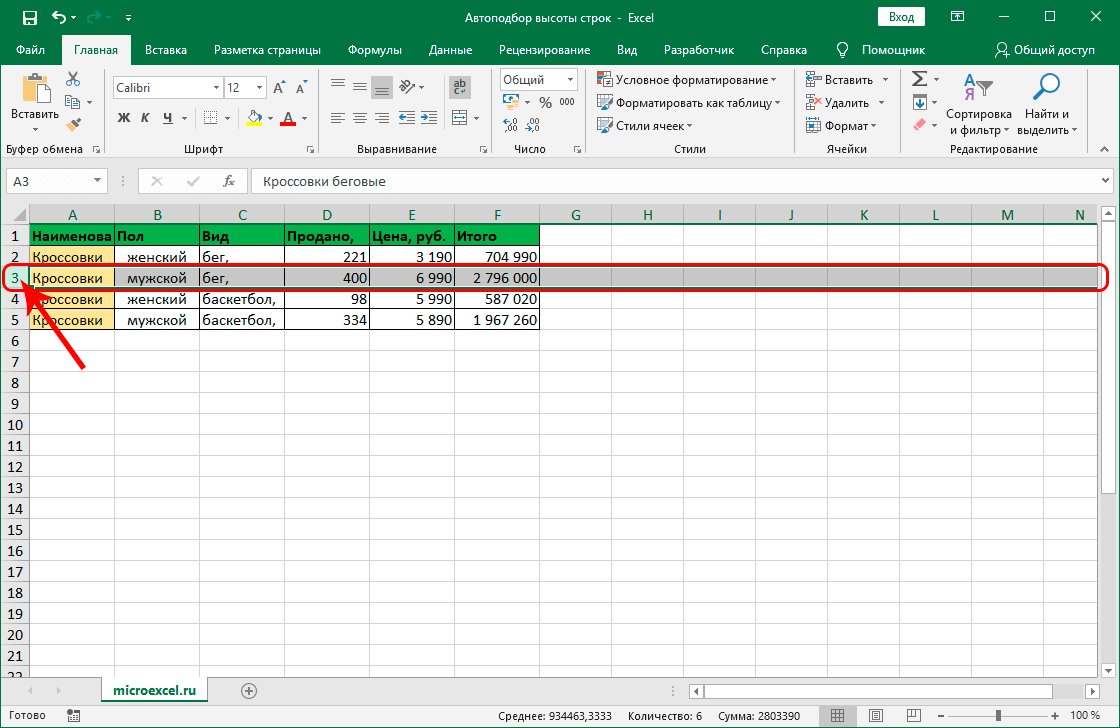
- Move the mouse cursor to the bottom of the selected line. The pointer will take the form of two arrows pointing in opposite directions. Press LMB twice.

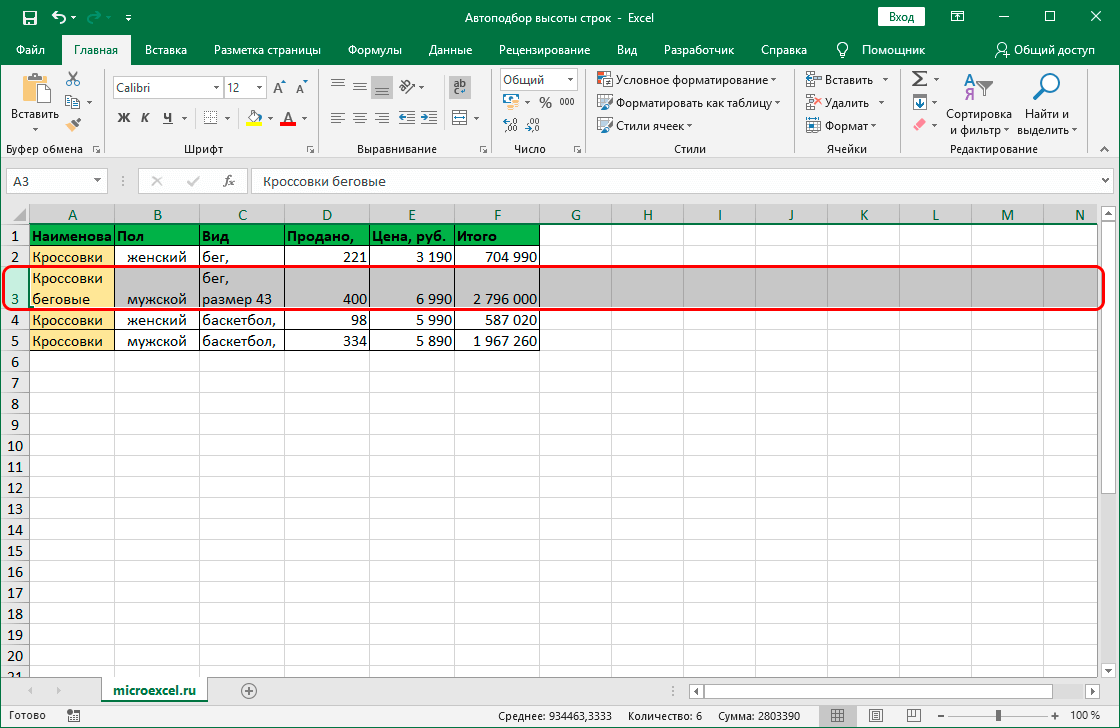
- Ready! After carrying out this procedure, the height of the selected line automatically changed so that now all the cells could fit the information contained in them. The borders of the columns have not changed in any way.
Method 3: Autofit Height for Multiple Rows
The above method is not suitable when working with large amounts of data, since it will take a lot of time to select each line of the plate. There is another method that saves a lot of time. Detailed instructions are as follows:
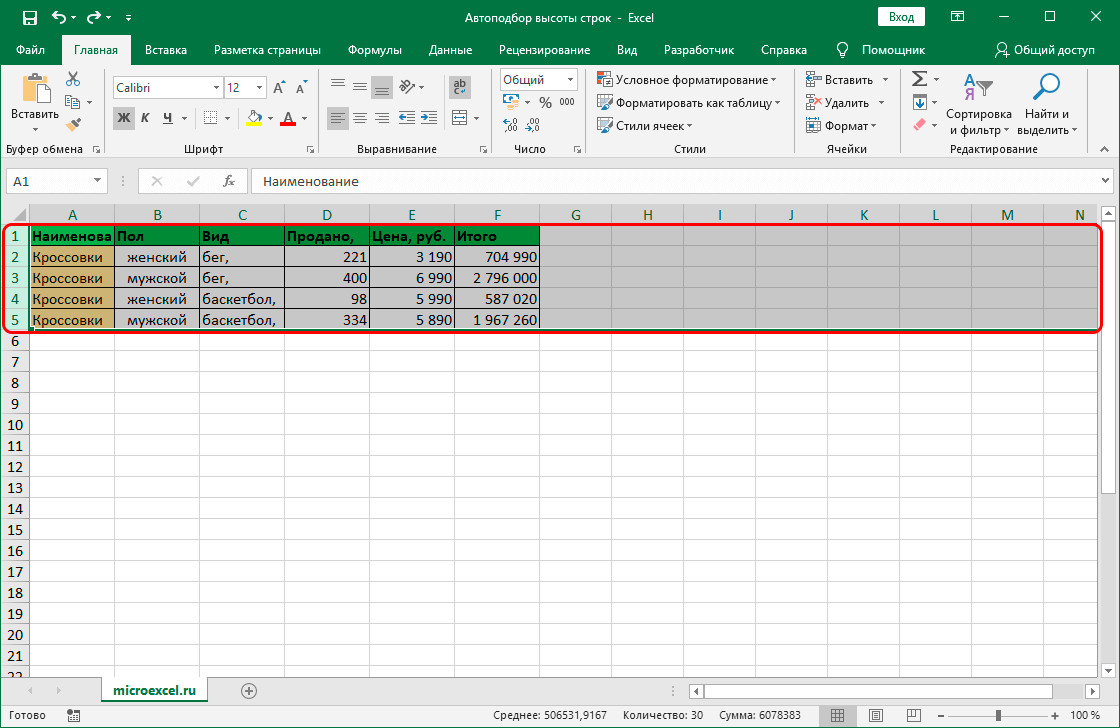
- Again we find the coordinate panel of the vertical type. Now we select not one line, but all at once, the size of which we plan to change.
- Just like in the previous version, double-click LMB on the line number until the pointer takes the form of two arrows pointing in opposite directions. This procedure will allow you to implement automatic height selection.
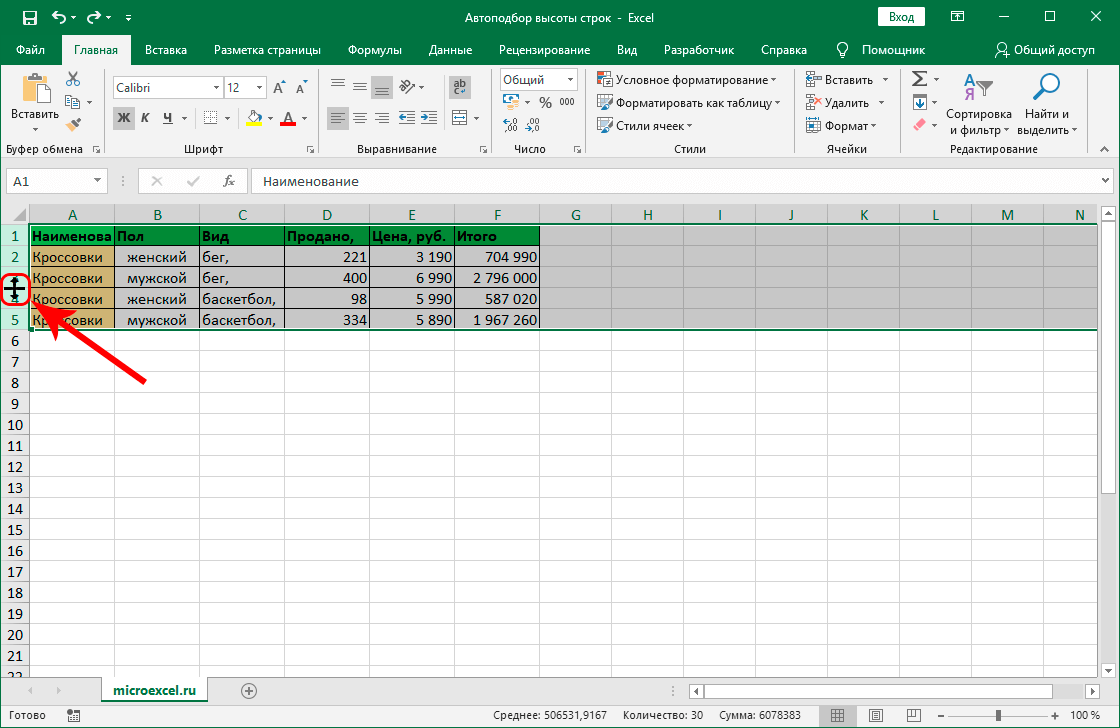
- Ready! We have implemented the correct height for each selected row, and now all information is correctly displayed in the selected cells.
Method 4: Use the tools on the ribbon
Most of the useful functions of the spreadsheet processor are located at the top of the interface on a special tool ribbon. There is a special element here that allows you to implement automatic height selection. Detailed instructions are as follows:
- We make a selection of the area, the automatic selection of the height of which we plan to produce.
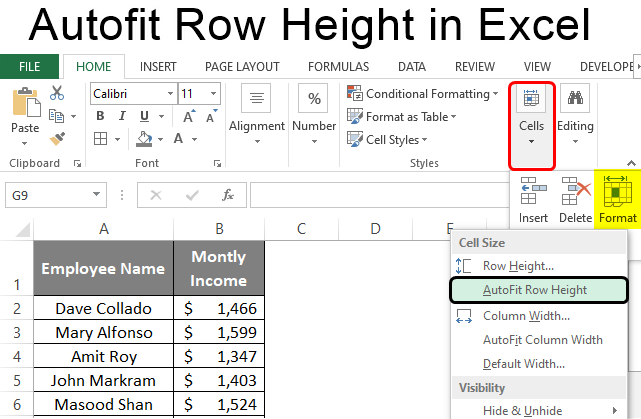
- We move to the section called “Home”, located at the top of the spreadsheet interface. We find the block of commands “Cells” and select the element “Format”. In the drop-down list, find the button “Auto-fit line height” and click on it.
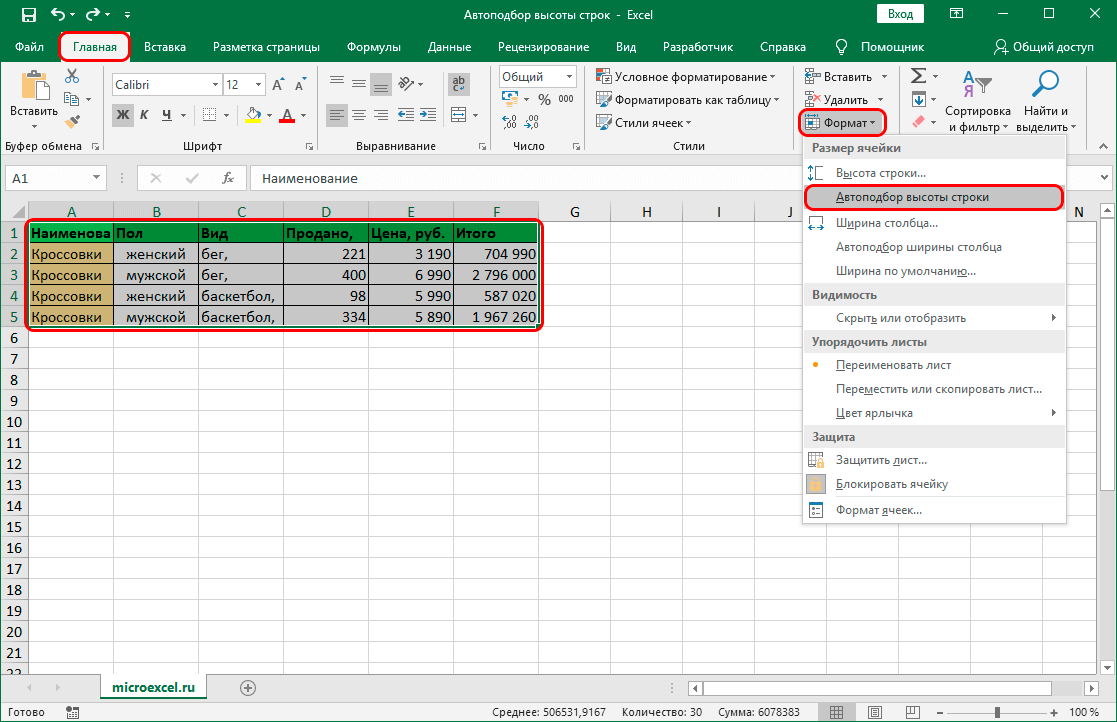
- Ready! We have implemented the correct height for each selected row and now all information is correctly displayed in the selected cells.
Method 5: Adjust height for merged cells
A special function that allows you to implement automatic selection of line heights cannot be applied to cells of the merged type. In any case, there are additional features in the spreadsheet that allow you to implement this procedure.

The meaning of this method is that we will not carry out the procedure for merging cells, but simply make the appearance of connecting cells, which will allow us to apply automatic selection. Detailed instructions are as follows:
- Initially, we make a selection of those cells over which we want to perform the merge procedure.
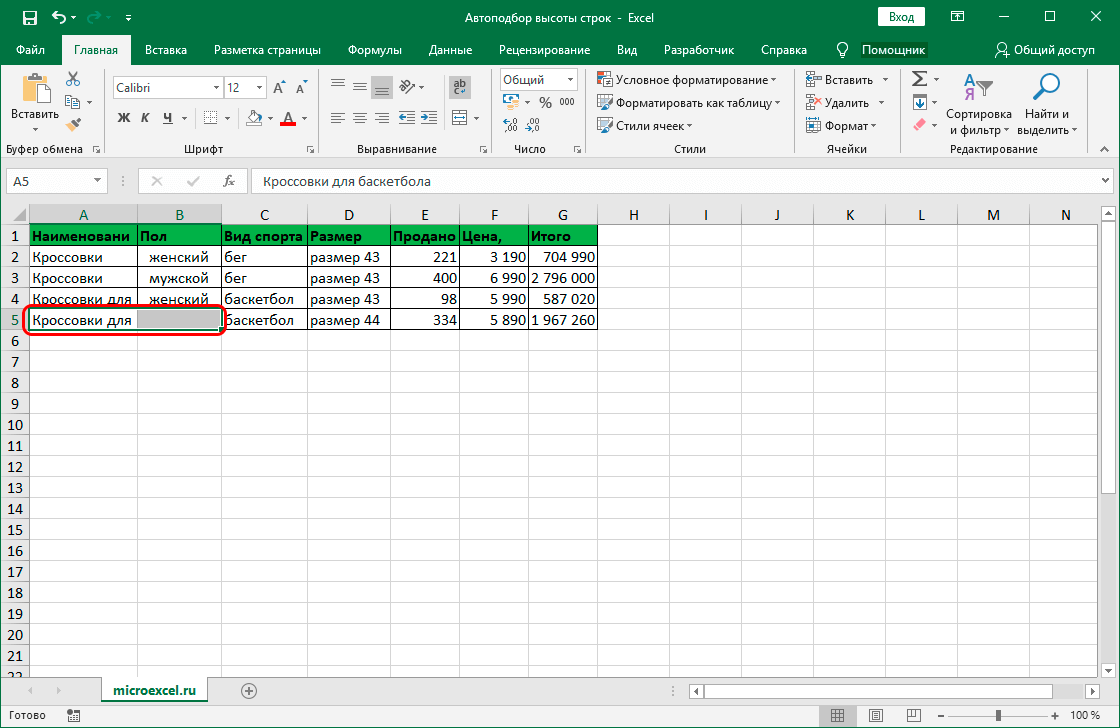
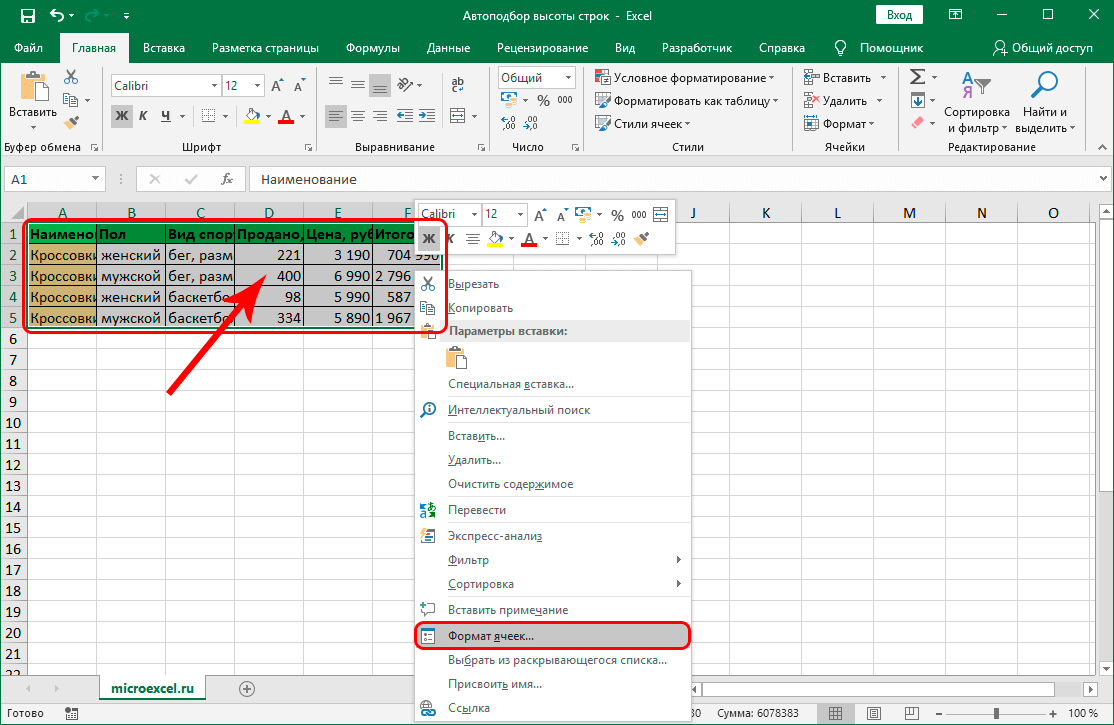
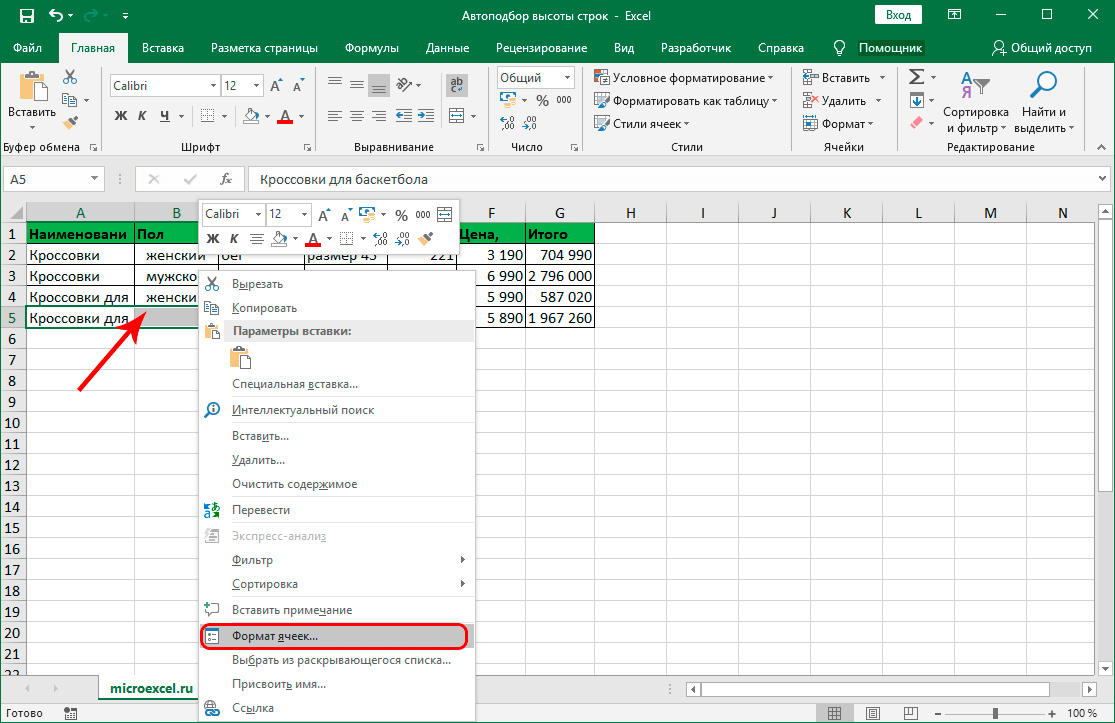
- Right click on the selected area. The context menu is displayed on the screen. We find an element called “Format Cells …” and click on it with LMB.
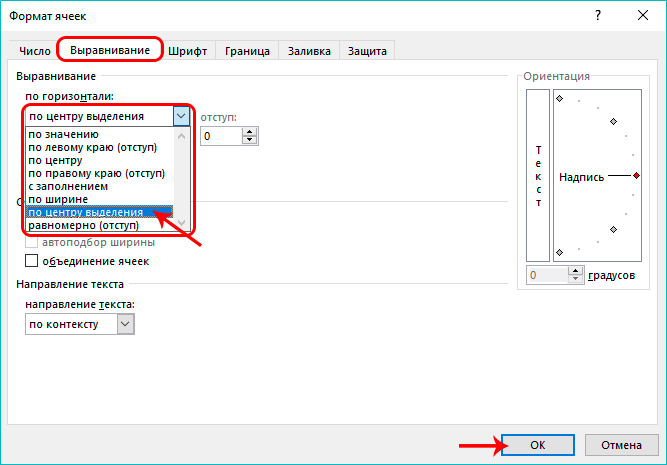
- The Format Cells window appeared on the display. Moving on to the “Alignment” section. Expand the very first list and click on the inscription “Centered selection”. After carrying out all the manipulations, click on “OK”.
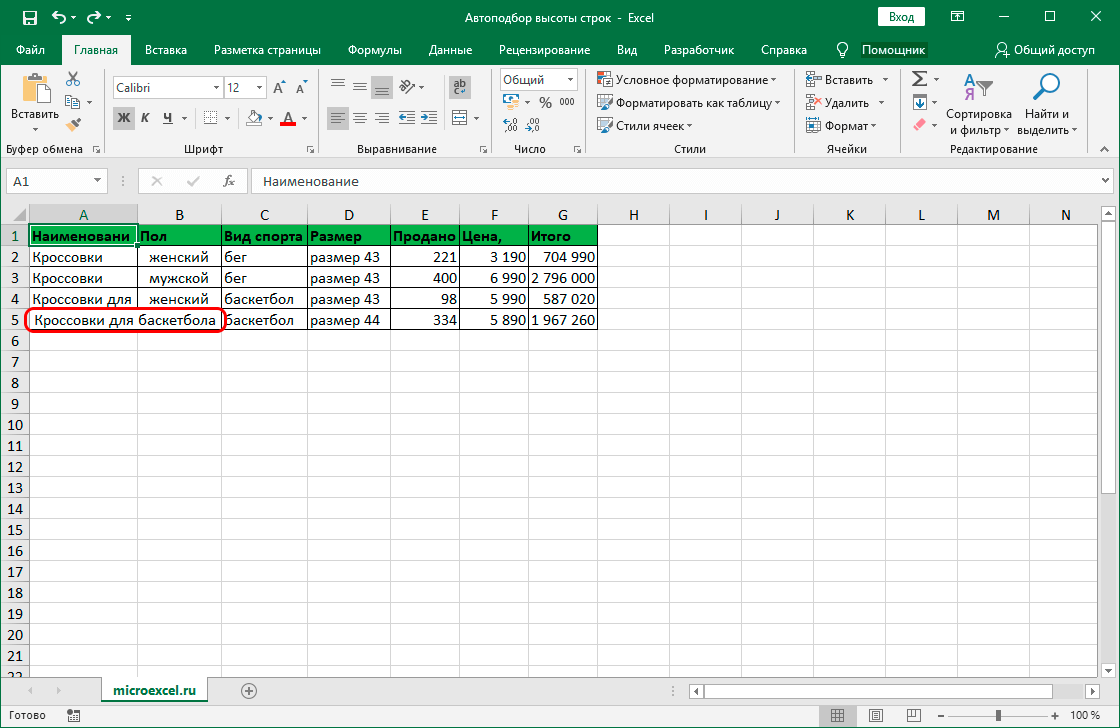
- The information in the first cell is displayed in the center of the selected cells. It should be noted that no merger has taken place. We just created the appearance of a union.
- At the last stage, we use the function of automatic selection of the line height using one of the methods described above.

- Ready! We have implemented the correct height for each selected row, and now all information is correctly displayed in the selected cells.
עס איז כדאי צו באמערקן! Each action algorithm is perfect for both early versions of the Excel spreadsheet processor and the latest ones.
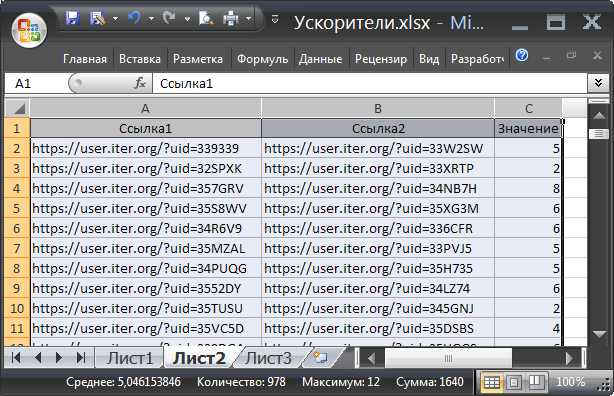
Let’s consider a small example in which we apply the knowledge gained on automatic selection of the line height. For example, we have the following table, which we must bring to the correct display on the worksheet:
Our goal: to implement the correct display of data in a plate in one line. Detailed instructions are as follows:
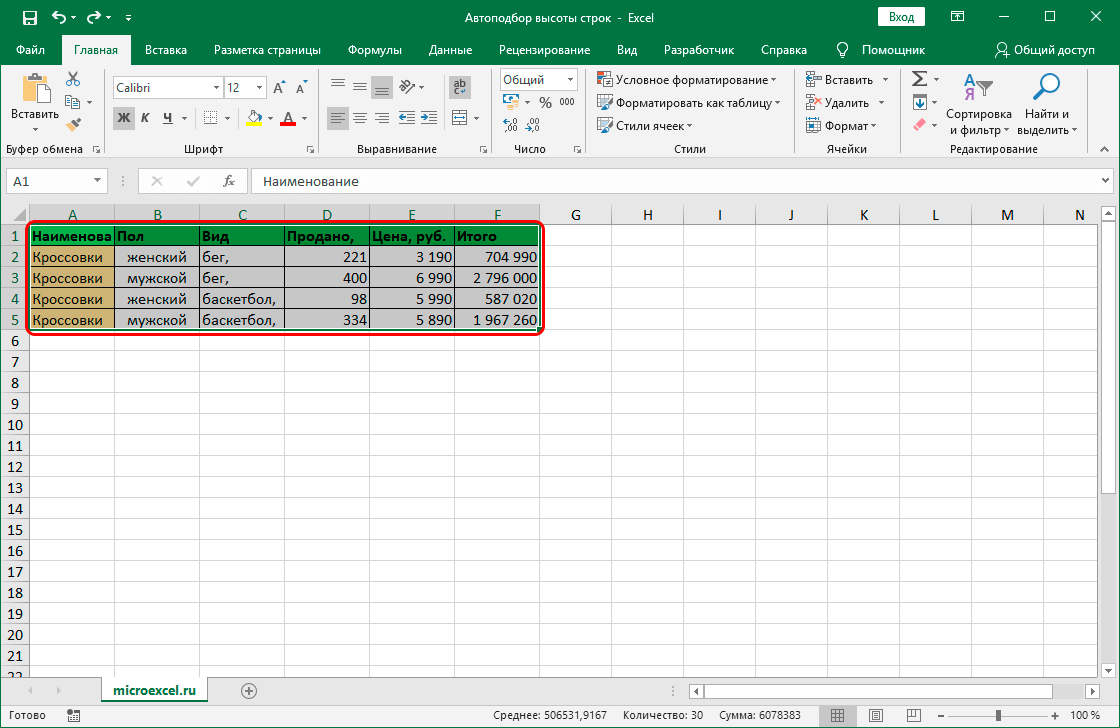
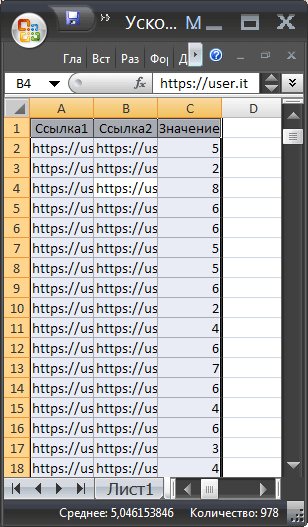
- Using the key combination on the keyboard “CTRL + A” we select all the values.
- The line height has changed so that the data is now displayed in one line. Some of the information is not visible. We need to make sure that all the data is displayed on the worksheet completely.
- We select columns A, B and C.
- Move the mouse cursor to the section of columns A and B and double-click LMB.
- Ready! Purpose completed. Now all the information located in the cells of the worksheet is displayed correctly.
How to set exact line height?
Often, Excel spreadsheet users are faced with a situation where it is necessary to set the exact line height when working with any tabular information. Detailed instructions are as follows:
- On the spreadsheet worksheet, we select the necessary lines with the left mouse button, the exact height of which we plan to set.
- Right-click on the selected area of the worksheet.
- A small context menu was displayed on the screen. We find an element called “Row Height” and click on it with LMB.
- A window called “Row Height” appeared on the screen. In the input field, we drive in the line height we need in points. Three points – approximately one millimeter.
- After carrying out all the manipulations, click on the “OK” button located at the bottom of the window.

- Ready! We have implemented an indication of the exact height of the line in the Excel spreadsheet.
געדענקט! The default line height is 12.75 pixels.
When it is impossible to auto-fit the line height
There are unpleasant situations when all the above methods do not allow automatic selection of the line height. Most often, the reason for the incorrect operation of the function is that the user has merged a number of cells together.
Keep in mind that automatic row height does not apply to merged cells. In the case of combining cells, it will be necessary to carry out the procedure for selecting the optimal parameters independently. There are two options for solving this problem:
- Manual stretching of borders by holding LMB.
- Use the precise stitch height function.
In any case, it is more appropriate not to use cell merging, but to apply the “visibility” of the connection. This allows you to apply automatic selection of line height in the spreadsheet Excel.
סאָף
As we can see, there are several different methods to implement the automatic height selection procedure in an Excel spreadsheet processor. The option that allows you to set the height for each line separately is great for working with small amounts of data. To work with large tables, you should pay attention to other methods. A large number of automatic selection methods allows each user to choose a more convenient option for themselves.